

Android Wear\Smartwatch App got automated @Naukri
Gadgets! Gadgets! Gadgets! Computer, Walkman, Mp3 players, iPods, laptops, tablets, phones, smartphones, smart glasses, smart TVs, smart cars, smart watches and what not.
Naukri/Naukrigulf have already been taking care of their jobseekers by providing them real time updates of new jobs and recruiter updates via it’s smart phone applications be it Android or iOS. We wanted to do something more and reach out to our jobseekers as early as we could.
What could have been better than having a wear application? Having an Android watch application was a perfect use case to update our jobseekers and enable them to access jobs and act on them even without a handy phone. This is when we launched our first Android gear application for Naukrigulf.
Working on wear application was challenging and hence, fun to do. We have already come a long way in terms of automation. Maintaining and ensuring quality and delivery of our mobile applications. We thought why not automate our new android watch application as well. Few Google talks provided the information that Android watch application can be automated using Appium just like any other android application.
It wasn’t that tricky, but it wasn’t easy either. While doing it and after automating it successfully we realized, that there are many who are searching for ways and answers to do it. Hence, sharing what all we did and how we did it.
So, let’s talk about “How to automate android wear application using Appium?”
We have tried to keep everything simple, direct and informative.
What all we need, Prerequisites as we might call them:
1. Android SDK manager (for UI Automator viewer)
2. Android smartwatch (real device or emulator, we used real device)
3. Appium server (v1.3.4.1, higher version will also work)
4. Java setup in your machine (v1.7)
5. Appium Java client (v3.1)
6. Selenium-server-standalone (v2.44)
7. TestNG jar (as framework)
Now, let’s start working step by step.
Step 1:
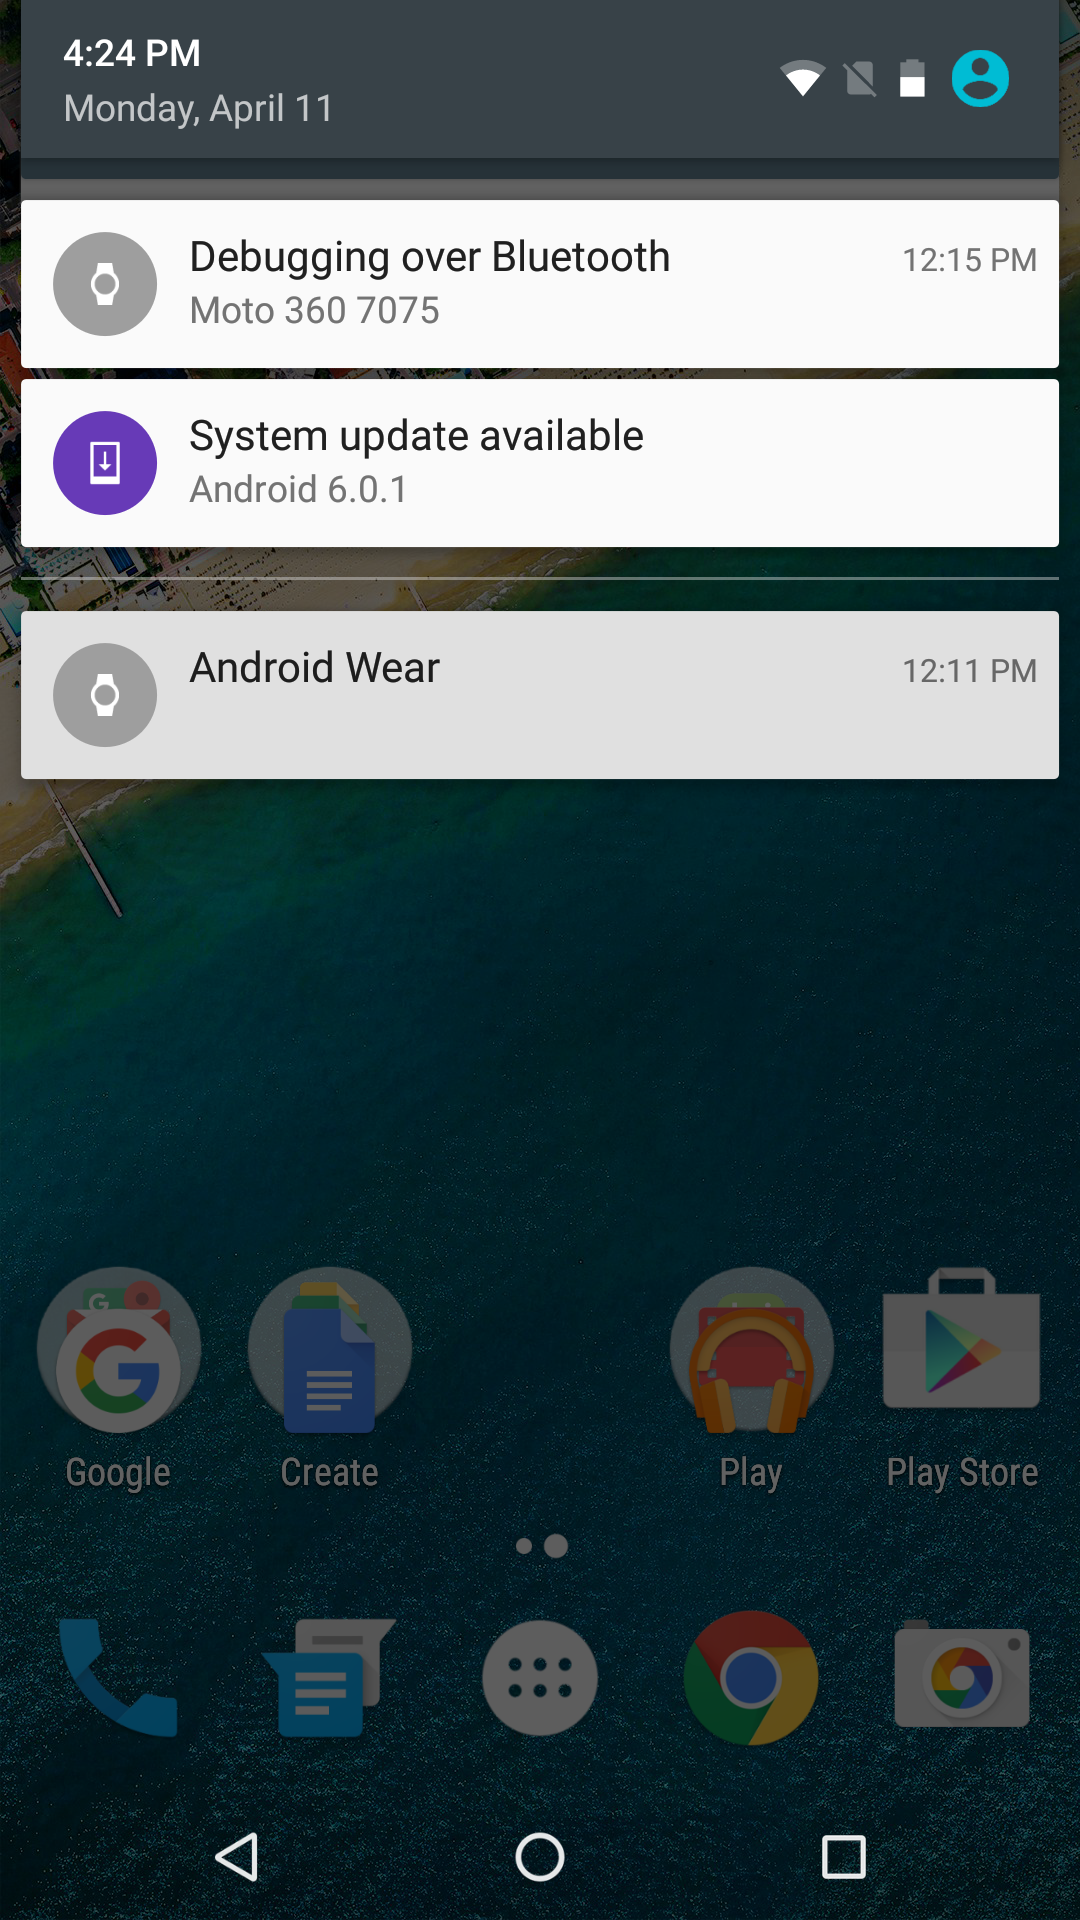
Pair Android watch with any android mobile phone
1. Install Android Wear app for connecting wear to device
2. Start Bluetooth of the mobile device
For Steps to connect wear:-
https://support.google.com/androidwear/answer/6056630?hl=en&ref_topic=6056389
Step 2:
Connect Android mobile device to your system using USB
Step 3:
Connect Android watch to your system
1. Connect Android device to system
2. Follow the commands mentioned in below image:
(FYI:- Localhost:4445 is your wear)

By now, your setup for automation has been done, now let’s see how the piece of code looks for further actions.
Step 4:
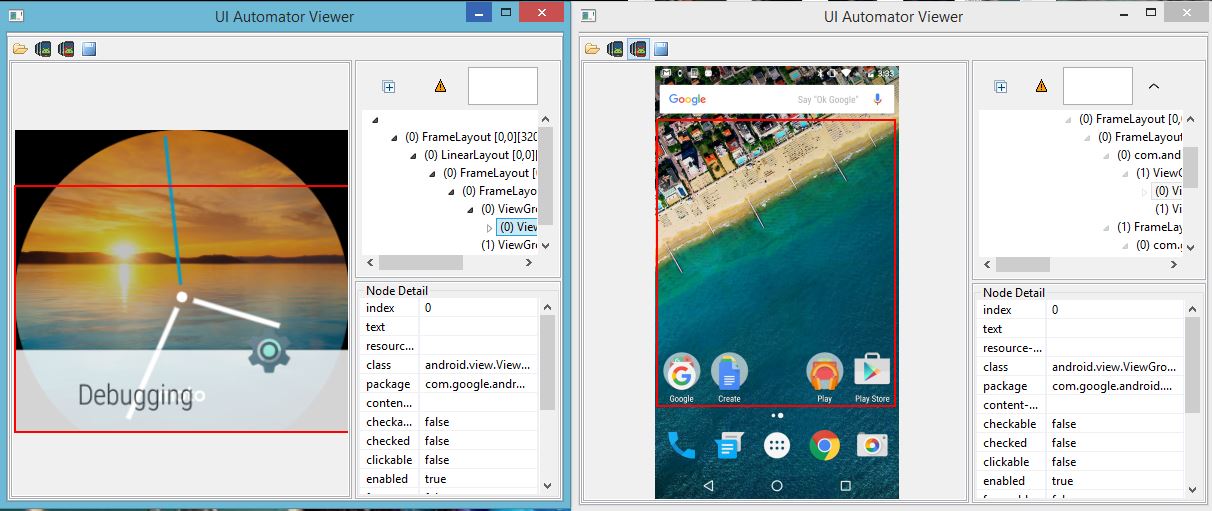
Accessing the apps via uiautomatorviewer.bat, to identify ids
Step 5:
Writing test case to perform actions including android app and android wear application
@Test
public void Demo() {

	String appTitle = driver.findElement(by).getText();
	String wearTitle = wearDriver.findElement(home.saveJob_Lbl).getText();

	Assert.assertTrue(appTitle.equals(wearTitle), "Fail");
}
Step 6:
Starting and Stopping appium server for mobile device application and mobile wear application via code
Code to start appium server on Wear:
public void startAppiumServerWear(String portNumber) throws IOException, InterruptedException {

 if(this.getconnectedDevicesNumber() > 0) {
   Runtime.getRuntime().exec("cmd.exe");
   CommandLine command = new CommandLine("cmd");
   command.addArgument("/c");
   command.addArgument("<node.exe path in your system>");
   command.addArgument("<appium.js path in your system>");
   command.addArgument("--address", false);
   command.addArgument("127.0.0.1");
   command.addArgument("--port", false);
   command.addArgument(portNumber);
   command.addArgument("--command-timeout", false);
   command.addArgument("120");
   command.addArgument("--full-reset", false);

   DefaultExecuteResultHandler resultHandler = new DefaultExecuteResultHandler();
   DefaultExecutor executor = new DefaultExecutor();
   executor.setExitValue(1);
   executor.execute(command, resultHandler);
   Thread.sleep(5000);
 }
  else
    if(this.getconnectedDevicesNumber() <= 0){
	Assert.assertTrue(false, "Device Not Found");
    }
}
Code to stop appium server on wear:
public  void stopAppiumServerWear(String portNumber) throws IOException {

	Runtime.getRuntime().exec("cmd.exe");
	String AppiumServerPortNumber = portNumber;
	String command = "cmd /c echo off & FOR /F \"usebackq tokens=5\" %a in"
		+ " (`netstat -nao ^| findstr /R /C:\"" + AppiumServerPortNumber + "\"`) do (FOR /F               \"usebackq\" %b in (`TASKLIST /FI \"PID eq %a\" ^| findstr /I node.exe`) do taskkill /F /PID %a)";

	String s = null;
	try {
             Process p = Runtime.getRuntime().exec(command);
	     BufferedReader stdInput = new BufferedReader(new InputStreamReader(p.getInputStream()));
	     BufferedReader stdError = new BufferedReader(new InputStreamReader(p.getErrorStream()));

	     // read the output from the command
	     while ((s = stdInput.readLine()) != null) {
			System.out.println(s);
	     }

	     // read any errors from the attempted command
	     while ((s = stdError.readLine()) != null) {
			System.out.println(s);
	      }
	} catch (IOException e) {
	     System.out.println(" ---------->>> Exception happened: ");
		e.printStackTrace();
	}

	System.out.println("------------>>> Appium server stopped");
}
Step 7:
Install and executing test cases on mobile device application and android watch using appium, which includes code for startDriver and stopDriver
startDriver code to be used in Test Suite:
public void StartDriver() {
	File file = new File(appLocation);
	String appPath = file.getAbsolutePath();
	File fileWear = new File(appLocationWear);
	String appPathWear = fileWear.getAbsolutePath();

	driver = StartDriverAndroidAppWear(appPath, appPackage, appActivity,"<portNumber>","<deviceId>");

	System.out.println("--------------------Mobile driver created");

	wearDriver = StartDriverAndroidAppWear(appPathWear, appPackage, wearAppActivity,"<portNumberWear>","<androidWearDeviceId>");

	System.out.println("--------------------Wear driver created");
}
stopDriver code to be used in Test Suite:
public void StopDriver() {
	StopDriverWear(appPackage, "<portNuber>");
	StopDriverWear(appPackage, "<portNumberWear>");
}
startDriverAndroidAppWear Code:
public AndroidDriver StartDriverAndroidAppWear(String appLocation, String appPackage, String appActivity, String portNumber,String udid) throws MalformedURLException{

	try {
		startAppiumServerWear(portNumber);
	} catch (IOException | InterruptedException e) {
		e.printStackTrace();
	}

	try{Thread.sleep(5000);}catch(Exception e){}

	DesiredCapabilities capabilities = new DesiredCapabilities();
	ThreadLocal<AndroidDriver> threadDriver = new ThreadLocal<AndroidDriver>();
        capabilities.setCapability(MobileCapabilityType.PLATFORM_VERSION, "4.3");
	capabilities.setCapability("udid", udid);
	capabilities.setCapability(MobileCapabilityType.DEVICE_NAME, "Android");
	capabilities.setCapability(MobileCapabilityType.APP, appLocation);
	capabilities.setCapability(MobileCapabilityType.APP_PACKAGE, appPackage);
	capabilities.setCapability(MobileCapabilityType.APP_ACTIVITY, appActivity);
	capabilities.setCapability(MobileCapabilityType.NEW_COMMAND_TIMEOUT, 120);

	driver = new AndroidDriver(new URL("http://127.0.0.1:"+portNumber+"/wd/hub"), capabilities);

	driver.manage().timeouts().implicitlyWait(60000, TimeUnit.MILLISECONDS);
	SetImplicitWaitInSeconds(15);

	return driver;
}
stopDriverWear Code:
public String StopDriverWear(String appPackage, String portNumber){
   driver.removeApp(appPackage);
   try {
     stopAppiumServerWear(portNumber);
   } catch (IOException e) {
	e.printStackTrace();
   }
   return("------------>>> Browser closed");
}
This is all what we did. Some changes here and there to the existing code set and framework resulted to automated Naukrigulf android wear app. Believe me it was a fantastic feeling when we first saw our complete code working on both android mobile device and wear.
Wishing all the steps mentioned above will help you experience that same fantastic feeling.
Keep automating and keep feeling awesome!
For any other query or clarity, you can reach us in comments and we would be happy to help.


 The All-New Naukri iOS App (6.0)
Hi,
Thanks for your valuable information and sharing with us.
I just wanted to know, what have you used for Android Wear? Is it an Emulator or Real device?
I was trying to do the same thing with Emulator, but i was stuck after pairing my emulator with Physical device.
http://stackoverflow.com/questions/36809558/android-wear-testing-in-emulator-with-android-phone
Posted this query in couple of places but with no luck.
I am hoping i may get some help from you here.
Thanks,
Uday
Hi Uday,
We have done successful pairing of Android watch emulator with Android device. But, we used real device for automation.
Please share the exact steps which you took. You might have faced issue while pairing due to android emulators being slow.
I hope the blog might help you get back on track.
Hi Rashi,
Thanks a lot for your reply.
I followed the steps specified in below Android’s video.
https://support.google.com/androidwear/answer/6056630?hl=en
But my phone’s screen struck after pairing the android wear with Phone(Phone says it is paired and tried to navigate to next screen and stuck there). You can refer the screenshot as mentioned in SO.(As i dont have option to post the screenshot image i am asking to refer that site).
Thanks in advance to see any help/inputs from you.
Thanks,
Uday
Uday, give it sometime(good time) to update. It happens when you pair your watch with device for the first time.
Also, try it when your device is in good battery condition.